
Get Your Card
Save a stamp card to Apple Wallet or Google Wallet from your shop's issuance link — no sign-up required.
Welcome! Your shop just invited you to join their stamp card program.
Scan the QR code at the counter, then save the card to Apple Wallet (iPhone) or Google Wallet (Android). No account needed — your wallet pass becomes your card.
Who can use this
- Customers receiving a one-time issuance link or QR from shop staff
- iPhone users with Apple Wallet, or Android users with Google Wallet
This guide covers wallet save only. If you prefer not to use a wallet app, ask staff about other options — but most customers love the wallet experience!
Before you start
- Shop staff will show you a one-time QR code at the counter (or send you the issuance link).
- Scan it with your phone camera or QR app.
- Make sure you have Apple Wallet or Google Wallet available on your device.
Save to Apple Wallet (iPhone)
1. Open the issuance page
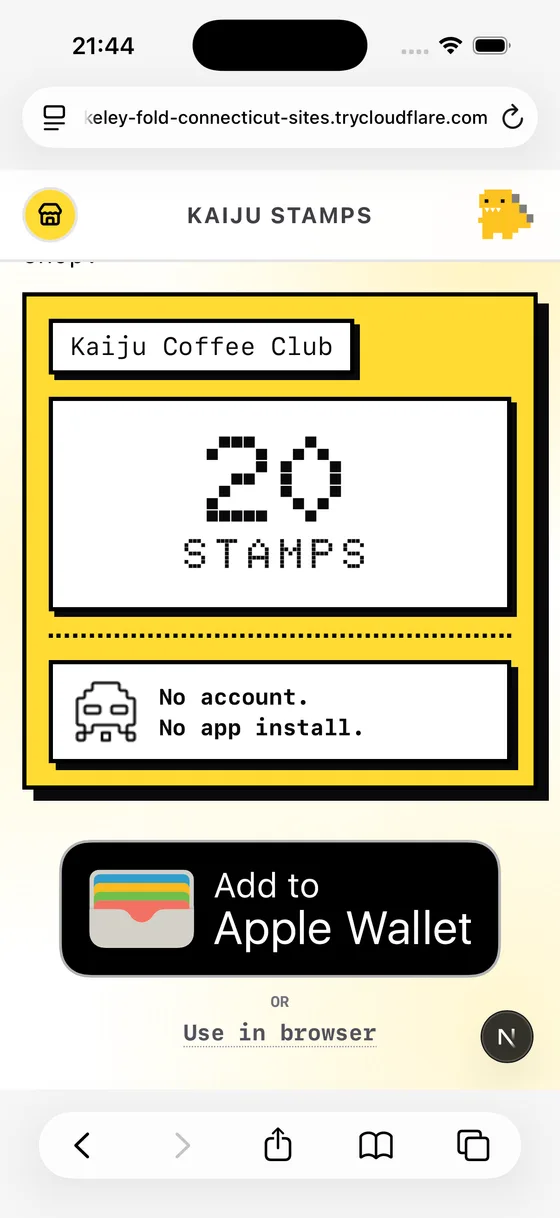
After scanning the shop's QR, you'll land on SAVE THIS CARD with your shop's branding. Tap Add to Apple Wallet.
2. Confirm in Apple Wallet
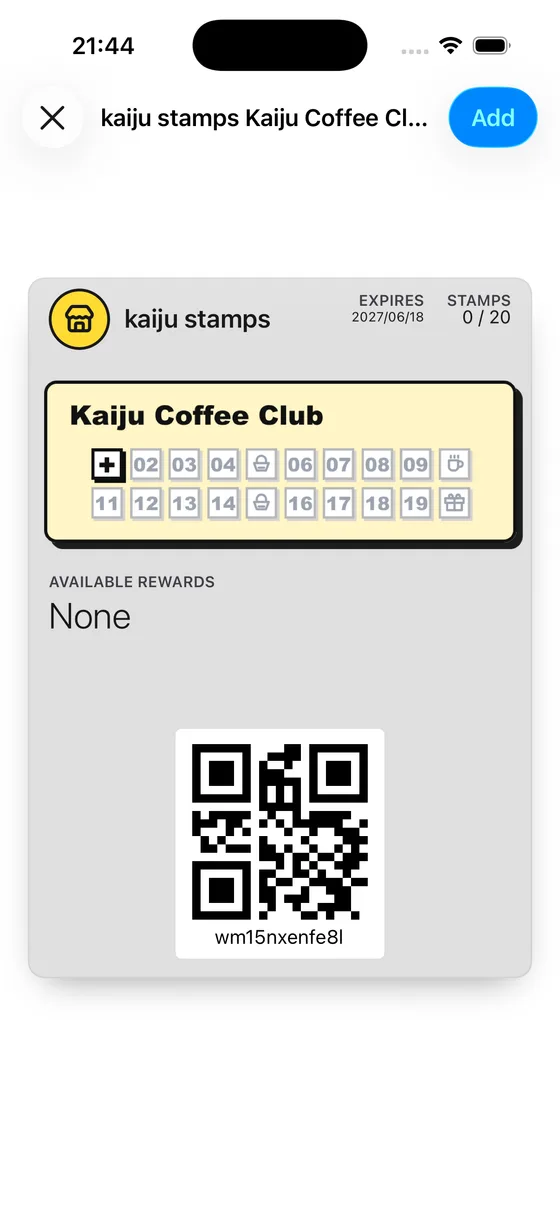
Apple Wallet opens a preview of your pass — stamp count, stamp grid, and card name. Tap Add in the top-right corner to save it.
3. Find your pass in Wallet
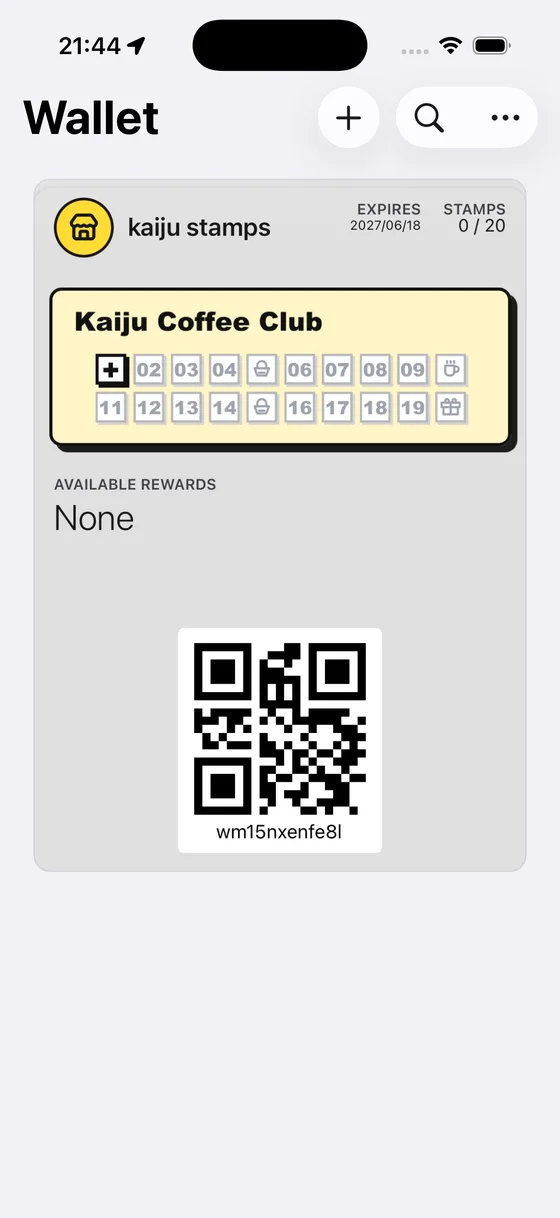
Your pass is saved! Open the Wallet app anytime to see your stamp progress and the Wallet QR at the bottom for shop visits.
Save to Google Wallet (Android)
1. Open the issuance page
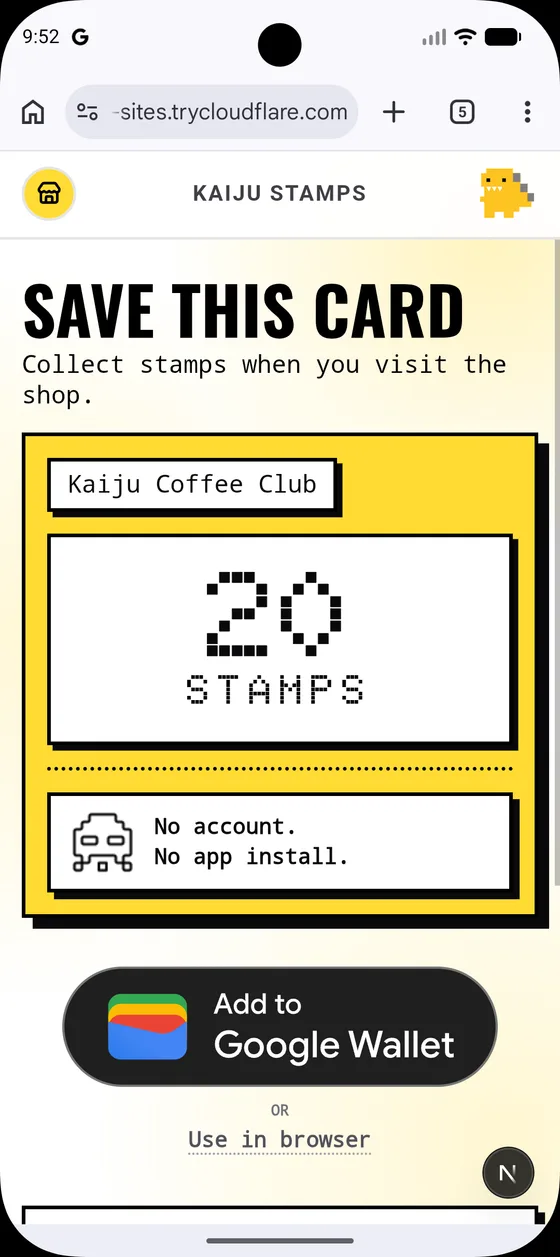
After scanning the shop's QR, you'll see SAVE THIS CARD. Tap Add to Google Wallet.
2. Review and save
Google Wallet shows a preview of your pass. Tap Save (or Add) to add it to your wallet.
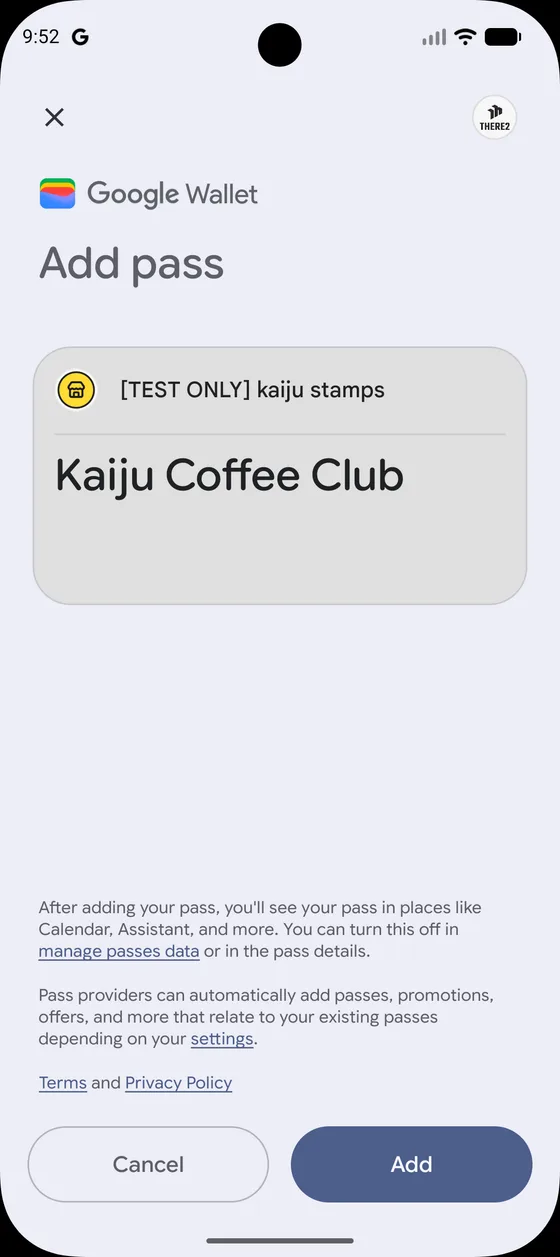
3. Confirm it was added
You'll see a confirmation that the pass was added to Google Wallet. Tap View pass to open it right away.
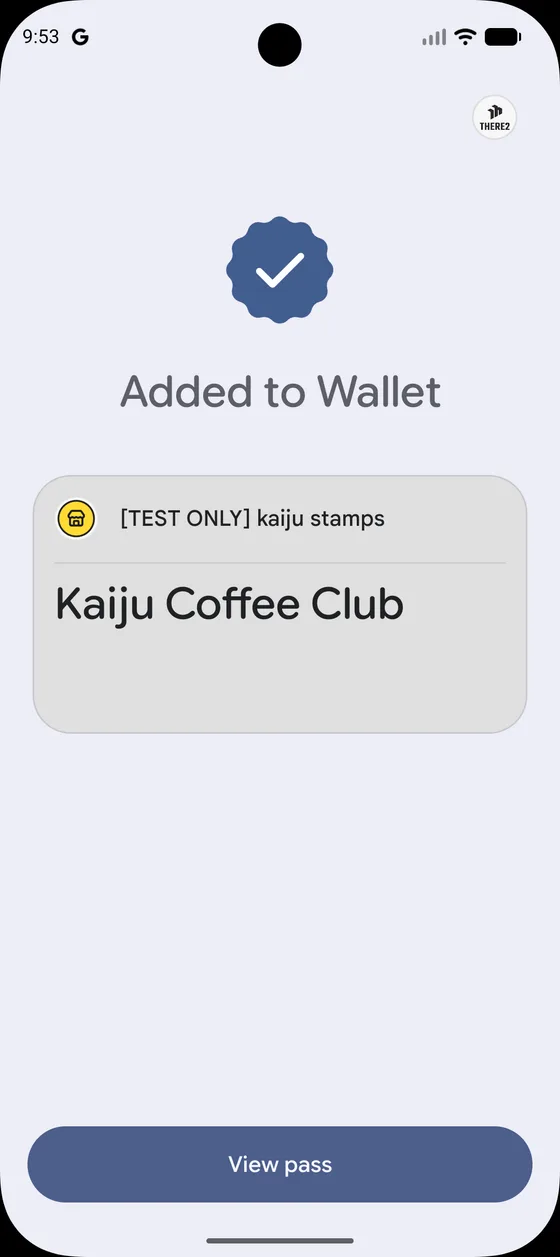
4. Find your pass in Google Wallet
Your pass appears in Google Wallet with stamp progress and a scannable code for shop visits.
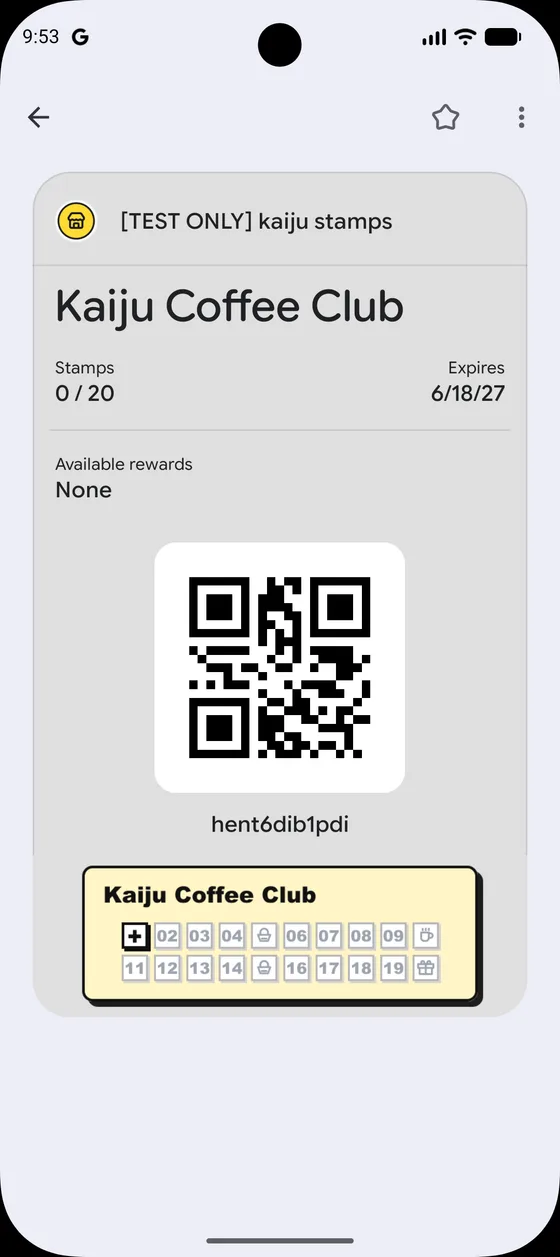
What success looks like
- Your stamp card lives in Apple Wallet or Google Wallet — no account created.
- You can open the pass anytime to check stamps or show the Wallet QR at the shop.
- Wallet labels, status, dates, and activity follow your Wallet or device language when it is set to English, Japanese, Simplified Chinese, French, German, or Korean. Shop names, card names, reward names, and shop-provided terms stay as the shop entered them.
- On return visits, just open your saved pass. No need to scan a new issuance QR.
Tips / Common issues
- Already have a card? Open your existing wallet pass instead of scanning a new issuance QR.
- Each issuance QR is one-time. It's for new customers getting their first card.
- Wrong wallet button? If you tap the wrong wallet option for your phone, you'll get a friendly message — try the correct wallet for your device.
- Pass not updating? Wallet passes sync automatically when staff add stamps. Pull to refresh in Wallet if needed.
- Want to check progress in detail? See My Card Page to open your card page from the pass.